

January 22, 2024


Ever dreamt of building your own awesome app? Before you dive headfirst into coding, there’s a secret weapon every pro uses: the wireframe!
But what is a wireframe for an app? This guide will help you answer that question and more. It’ll explain the advantages of using a wireframe, the different types available, the core components of an app wireframe, and the steps to create one. It’ll also look at future trends in wireframing.
So, if you’re curious about app wireframes, keep reading.
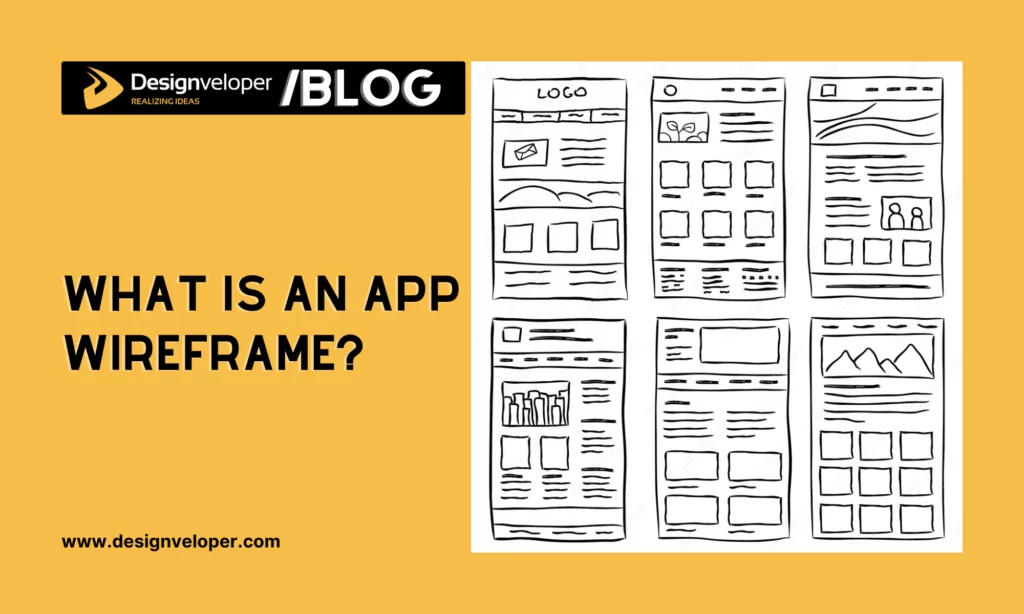
A wireframe for an app is a visual guide that represents the skeletal framework of a mobile application. It’s like a blueprint for your app, laying out the structure, layout, and functionality.
Wireframes are created before any design or coding begins. They help developers and designers understand how the app will work and what it will look like.
Wireframes are simple and use basic shapes to represent app elements. They don’t include colors, fonts, logos, or any other design elements. Their main purpose is to show the app’s structure, not its style.
So, wireframes are a crucial step in app development, helping to ensure that everyone is on the same page about the app’s design and functionality.
There are three main types of app wireframes: low-fidelity, mid-fidelity, and high-fidelity.
Low-fidelity wireframes are the simplest form of wireframes. They’re quick to create and usually hand-drawn. They give a basic understanding of the app’s structure and layout, but don’t include much detail.
Mid-fidelity wireframes are more detailed. They’re usually created using a design tool and include more accurate representations of the app’s elements. They’re useful for getting a clearer picture of the app’s functionality.
High-fidelity wireframes are the most detailed type. They include accurate representations of the app’s layout, structure, and functionality. They’re useful for presenting the app’s design to stakeholders or for usability testing.
Choosing the right type of wireframe depends on your needs. If you’re in the early stages of design, a low-fidelity wireframe might be enough. But if you’re further along in the process, a high-fidelity wireframe could be more useful.
Recommended reading: 10 Best Tools to Build an App Without Code
Wireframes are crucial in app development for several reasons:
Faster Development Process: The Nielsen Norman Group indicated that using wireframes could cut design time in half. Indeed, by creating wireframes first, developers conserve time, money, and effort compared to immediately creating actual products such as a web page.
Enhanced Communication: By providing a tangible representation of the envisioned product, wireframes allow all parties to understand the project’s direction, fostering improved collaboration.
Reduced Risk of Design Mistakes: Wireframes help designers and developers understand the design elements they have to work with and predict the volume of data in the final design. By providing a clear picture of the final product, these wireframes can help reduce the risk of costly development mistakes and prevent frequent changes in projects.
Early Identification of Usability Issues: By mapping out the functionality of the pages, wireframes help you detect problems early, saving time on revisions later. This early identification prevents poorly laid out interfaces, which could result in substantial revision costs.
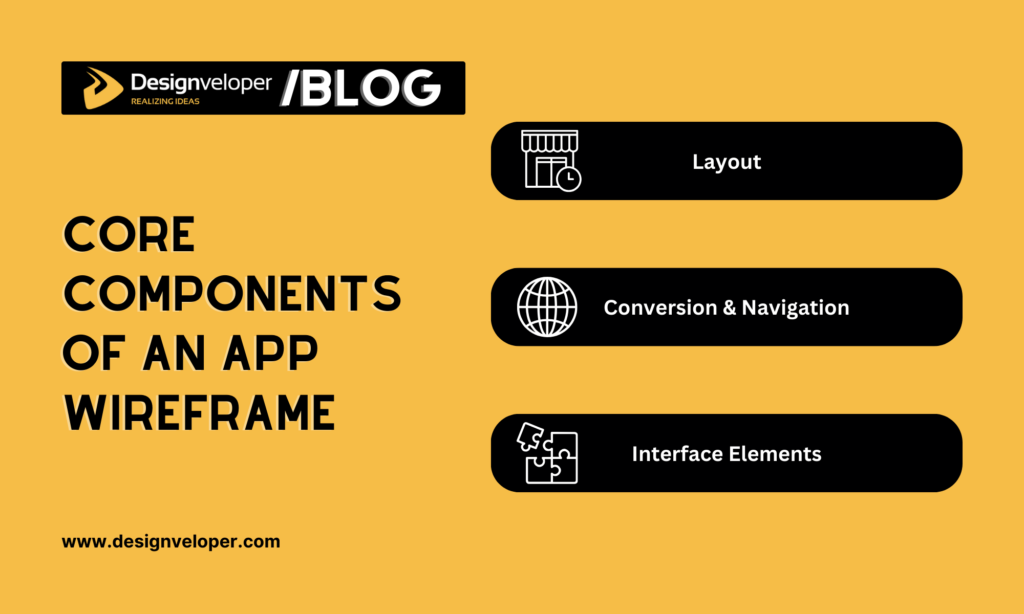
To further understand what is a wireframe for an app, let’s take a look at its key components as follows:
The layout is the arrangement of app elements on a user interface (UI). It provides a clear picture of where each element will be placed in the final design. This includes the positioning of headers, footers, images, text, and other interface elements. The layout helps determine the flow of information and how users will interact with the app.
Conversion areas are parts of the app designed to encourage users to take a specific action, such as signing up for a newsletter or making a purchase. These areas need to be prominently placed and easy to use to maximize conversions.
Navigation areas, on the other hand, guide users through the app. This includes menus, search bars, and back buttons. A well-designed navigation area ensures users can easily find what they’re looking for, enhancing the overall user experience.
Interface elements are the building blocks of an app’s user interface. They include buttons, checkboxes, icons, and other interactive components. These elements play a crucial role in the app’s functionality and how users interact with it. They need to be intuitive and consistent to provide a seamless user experience.
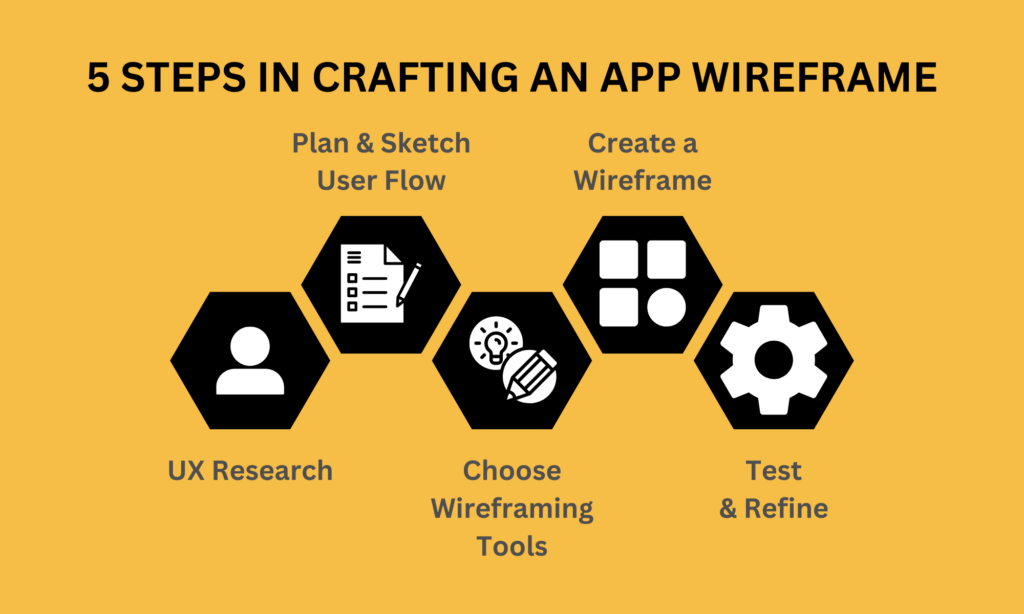
You already found the answer to two questions: “What is a wireframe for an app?” and “How important is it for your mobile app development?” Now, let’s dive into the five essential steps to craft an app wireframe with ease and precision.
Conducting UX research is a must-do step for mobile app development. According to the 2019 Acquia survey, an overwhelming majority of consumers, 90% to be exact, believed that brands failed to deliver their expected experiences. Unfortunately, 94% of marketers also agreed with customers on that. This raises a wake-up call for the necessity of UX research before you jump into any design or coding work.
As part of the app design process, wireframing also requires thorough research on your target users. This involves understanding your users’ needs, preferences, and behaviors to create an app that meets their expectations.
Based on the data collected and analyzed from UX research, your team can make a better-informed design decision to build a user-friendly app.
Once you’ve conducted your UX research, the next step is to plan and sketch out the user flow.
This involves mapping out the journey a user takes when interacting with your app, from the initial entry point through various pathways they might take based on different interactions.
Sketching out the user flow helps ensure logical and intuitive navigation for your users, leading to a better user experience.
Before turning your idea into a visual wireframe, your design team should decide on the right tool aligned with your project requirements and budget. Without the careful choice of wireframing tools, your team hardly create effective wireframes.
To help you in this part, Designveloper will list out some of the most popular wireframing tools available today:
| Tool | Description | Pricing |
| Figma | Figma is a cloud-based wireframing and design tool that enables real-time collaboration. It’s ideal for teams as it allows multiple people to work on a design simultaneously | Free for up to three projects. Pricing starts at $12 per editor/month |
| Adobe XD | Adobe XD is a versatile tool that allows for wireframing, prototyping, and collaboration. It seamlessly integrates well with the suite of Adobe products, enhancing its functionality. | Free starter plan. Pricing starts at $9.99 per month. |
| Sketch | Sketch is a vector-based design tool for macOS. The tool is appreciated for its simplicity and efficiency. | Pricing starts at $99 per year. |
| Balsamiq | Balsamiq is a fast, focused wireframing tool that gives you the experience of sketching on a whiteboard. | Pricing starts at $9 per month. |
| Justinmind | Justinmind is a prototyping tool for web and mobile apps, allowing for the design of wireframes, mockups, and interactive prototypes. | Pricing starts at $19 per user/month. |
| Lucidchart | Lucidchart is a web-based diagram software and mockup tool. It enables easy sharing and collaboration. | Pricing starts at $7.95 per month |
| MockFlow | MockFlow provides a full solution for product design, including wireframing, sitemaps, style guides, design collaboration, and design workflow. | Pricing starts at $14 per month |
| Moqups | Moqups is a web-based platform that helps you create wireframes, mockups, diagrams, and prototypes with ease. | Pricing starts at $13 per month. |
Once your idea and tools are ready, it’s time to draw a wireframe following the instructions of the Neisel Norman group:
The aspect ratio doesn’t need to be exact, particularly if you want a wireframe for mobile devices of all sizes.
But if you’re bound to sketch a more detailed wireframe, begin by determining which device you want to optimize for (e.g., tablets or phones). Then, consider dimensions based on that specific device.
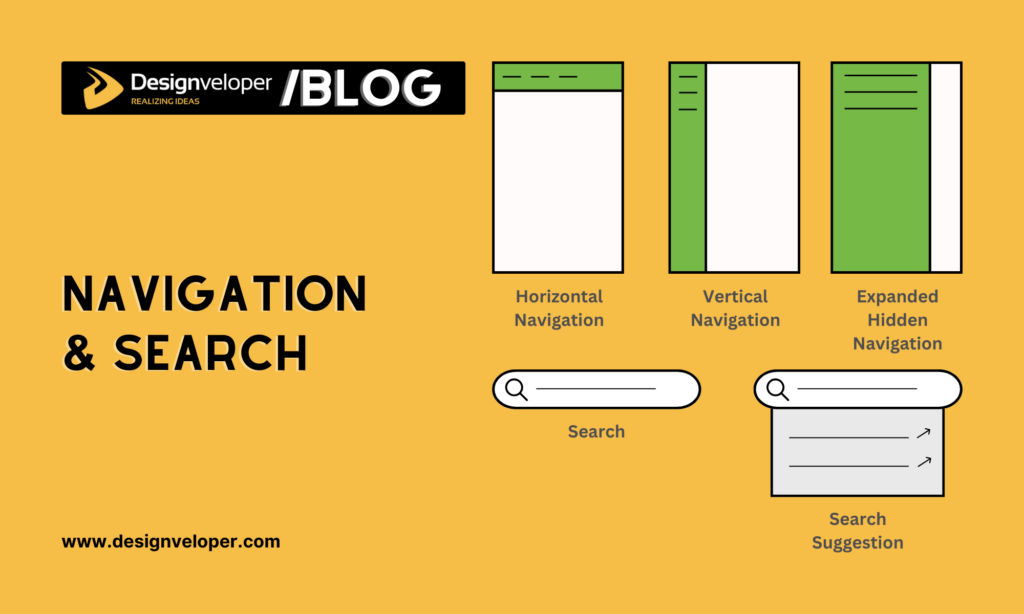
Navigation and search provide context to your app wireframe.
If you’re following an existing design, sketch the existing framework. For instance, you can place a navigation bar at the top of the page if it’s a common feature across all your pages.
But if you’re starting from scratch, contemplate what kind of navigation (whether horizontal, vertical, or hidden) might work. Consider using what you found from user research and user flows to build a navigation system to meet your end-users’ expectations.
For the search feature, you can sketch a search icon and the associated search box. If necessary, you can display search suggestions in a rectangle beneath the search box.
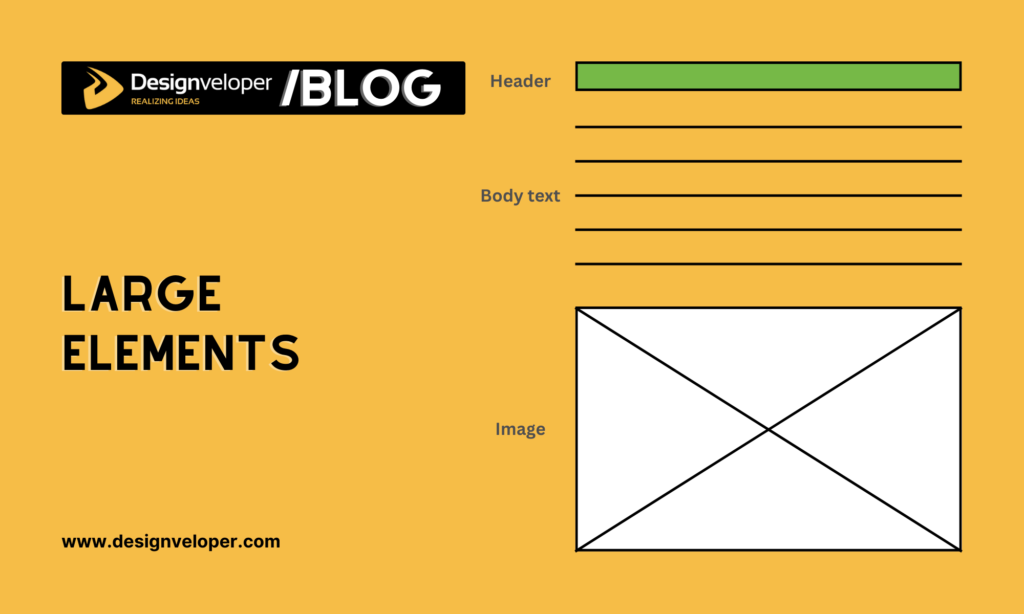
Next, concentrate on sketching the main components of your idea — for example, headers, large banners, images, or even large sections of body text.
Here are some standards of these interface elements:
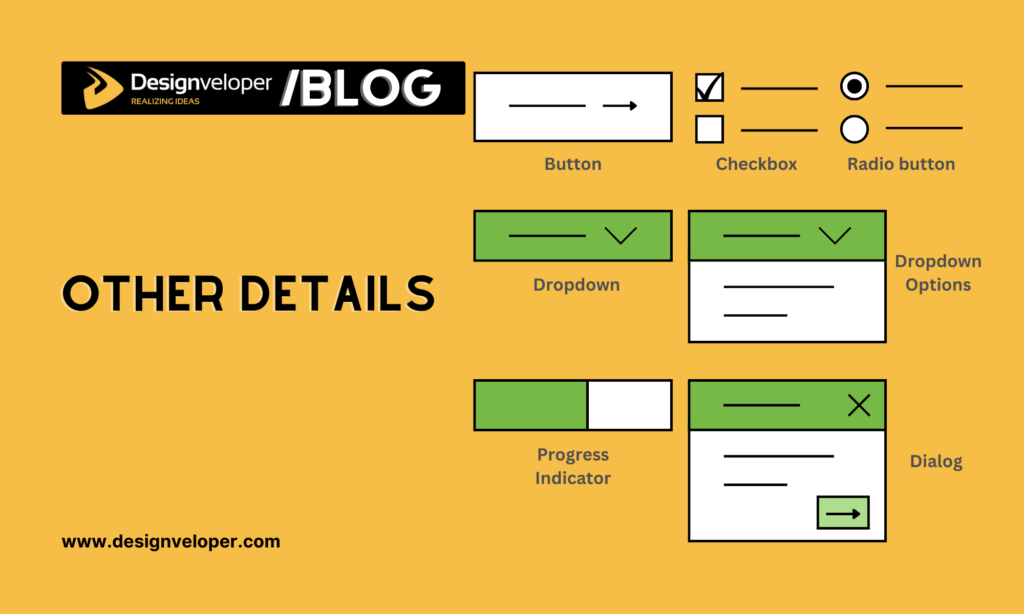
Finally, fill in small selection-related components like buttons, dropdowns, checkboxes, or radio buttons, depending on your user flow. Further, you can consider adding text fields or any remaining single lines of body copy DSV mentioned above.
When you’re creating wireframes for multiple screens that are part of the user flow, elements like progress bars and dialog boxes might be included. Don’t ignore calls to action as well if you want others to understand your design concept and message.
When your final wireframe is completed, it’s time to test your app wireframe by presenting it to stakeholders. Testing helps identify any potential issues or areas of confusion that might arise when potential users interact with your design.
After gathering all the feedback, use it to refine your wireframe. This could involve making changes to the layout, modifying navigation elements, or even rethinking your entire approach based on the feedback received before you turn it into a more detailed prototype.
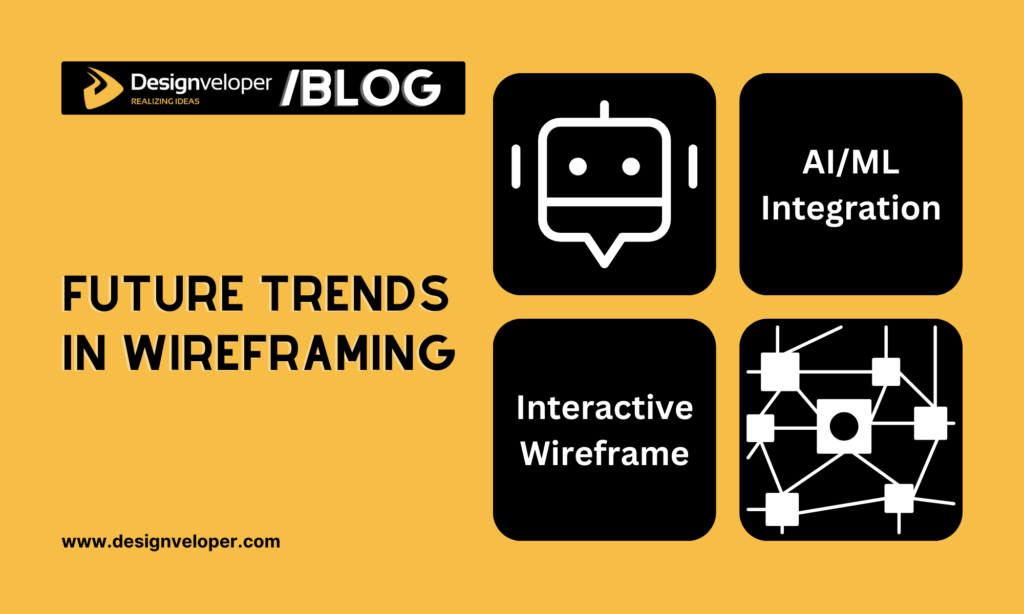
Wireframing is a key part of design. As tech continues to evolve, the ways you do wireframing also change. Let’s look at some future trends in wireframing that you might see more of:
A decade ago, Bermon Painter, a designer and developer, showed his opinion that wireframes should be left to die, making a way for rapid prototyping. This is because, at that time, static wireframes that were used in Waterfall were obstacles to a designer’s creativity and problem-solving ability.
But everything has changed since interactive wireframing was introduced along with the popularity of Agile techniques.
Interactive wireframes serve as a dynamic blueprint. They offer designers and clients an immediate, hands-on experience of the website’s functionality and user interface. Going beyond static layout presentations, this approach enables a vivid demonstration of user interactions with the design.
The beauty of interactive wireframes also lies in their ability to facilitate early-stage testing, opening up evaluation opportunities for essential elements right from the inception.
Compared to later-stage prototypes that assess near-final versions, interactive wireframes provide a more comprehensive, immersive, and realistic preview. This transformative approach is reshaping the landscape of app design and development, making it more efficient and effective.
So, what is a wireframe for an app in the future? The answer is still “interactive”. Along with the increasing demand for mobile apps, interactive wireframes are a necessity for stakeholders to envision their final products better.
Coupled with that trend, interactive wireframing tools like Figma have become popular. These tools can create clickable prototypes, allowing designers to test user flows effectively.
According to Business Research Insights, the integration of Artificial Intelligence (AI) and Machine Learning (ML) in wireframing software is among the major trends. AI/ML can automate the process of wireframing by taking over mundane wireframing tasks, leaving designers more space to focus on creativity and productivity.
AI-powered wireframing tools like Visily can swiftly transform screenshots, templates, or text prompts into editable wireframes and prototypes. This automation can significantly reduce the time spent on creating wireframes, making the design process more efficient.
In the future, the use of AI/ML is expected to continue, especially when more and more wireframing tool providers integrate this advanced tech into their products.
In wrapping up our exploration of “What is a Wireframe for an App,” we’ve uncovered the immense value of wireframes in app development. They serve as the blueprint, the secret weapon that turns your dream app into a reality.
The future of wireframing is exciting, with trends like interactive wireframes revolutionizing the design process. These dynamic models allow for early testing and adjustments, ensuring the final product is user-friendly and successful.
At Designveloper, we recognize the importance of wireframing. It’s a crucial step in our process, one we focus on to ensure we deliver top-notch, user-centric apps. So, we encourage you to embrace wireframing as you embark on your app development journey.
Remember, every great app starts with a great wireframe! So, keep dreaming, keep designing, and let the wireframe guide you to success.


